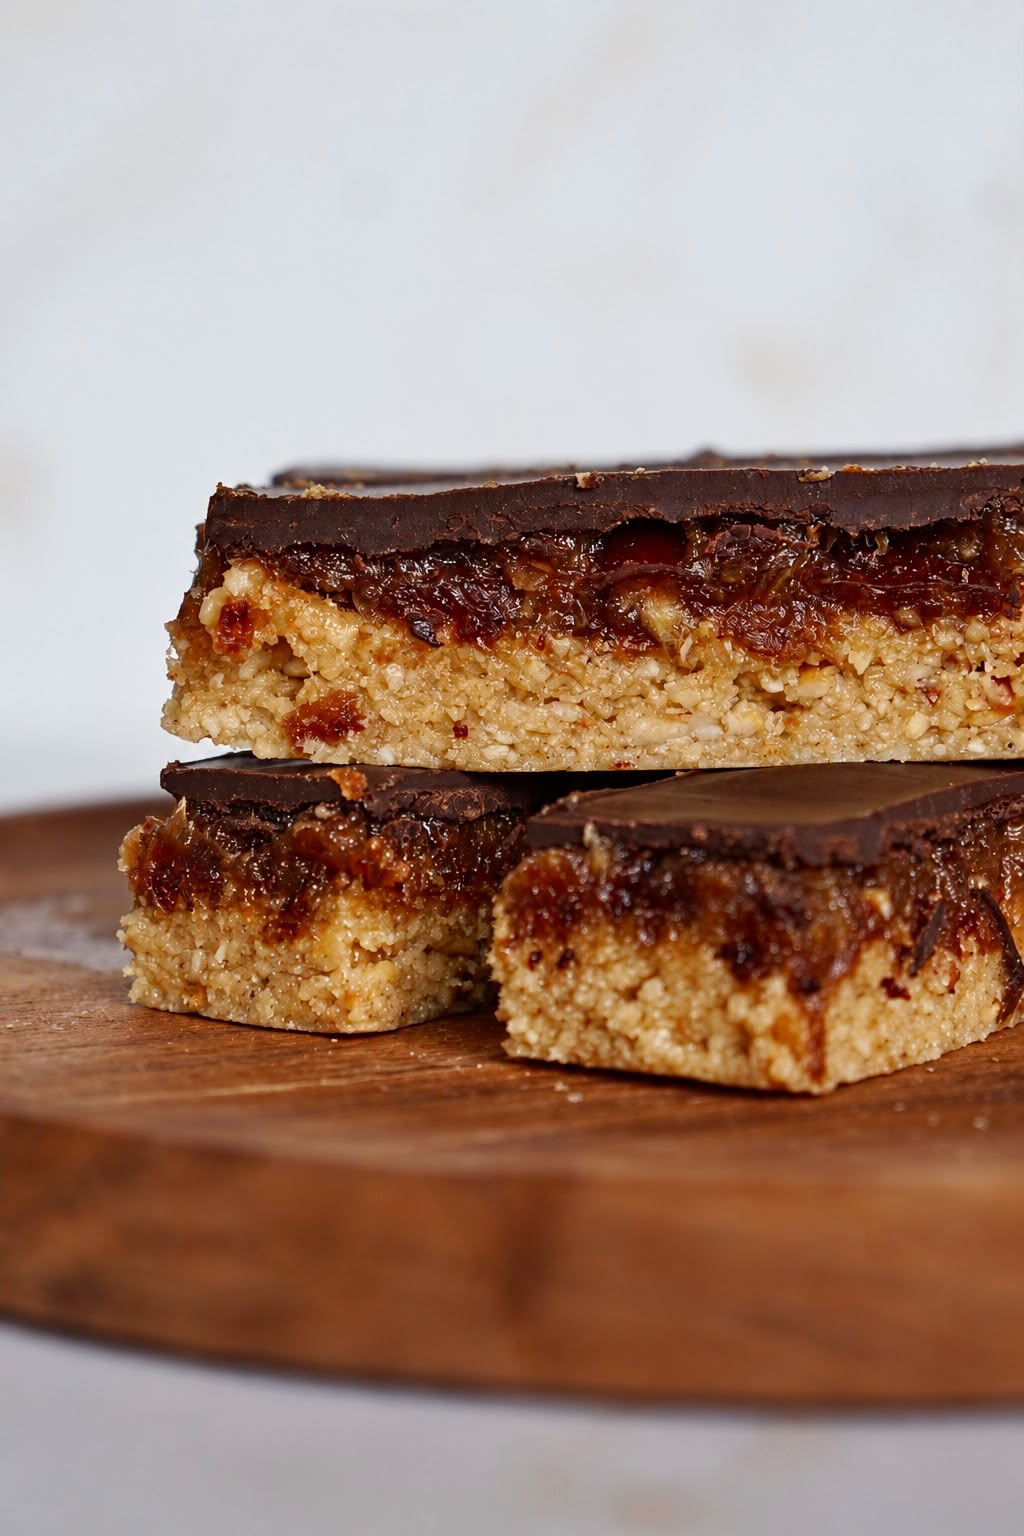
Recipe at a glance
| Recipe detail | Information |
|---|---|
| Yield | 12 bars or pieces |
| Method | No bake; melt the butter and chocolate, then refrigerate |
| Soak the dates | 10 minutes in hot water |
| Chilling time | At least 1 hour after adding the chocolate topping |
| Total time | Preparation and soaking, plus at least 1 hour chilling |
| Tin | A loaf tin or small dish lined with baking paper |
The tin size determines the thickness of the layers. Choose a tin in which you can press the base into a compact, even layer.
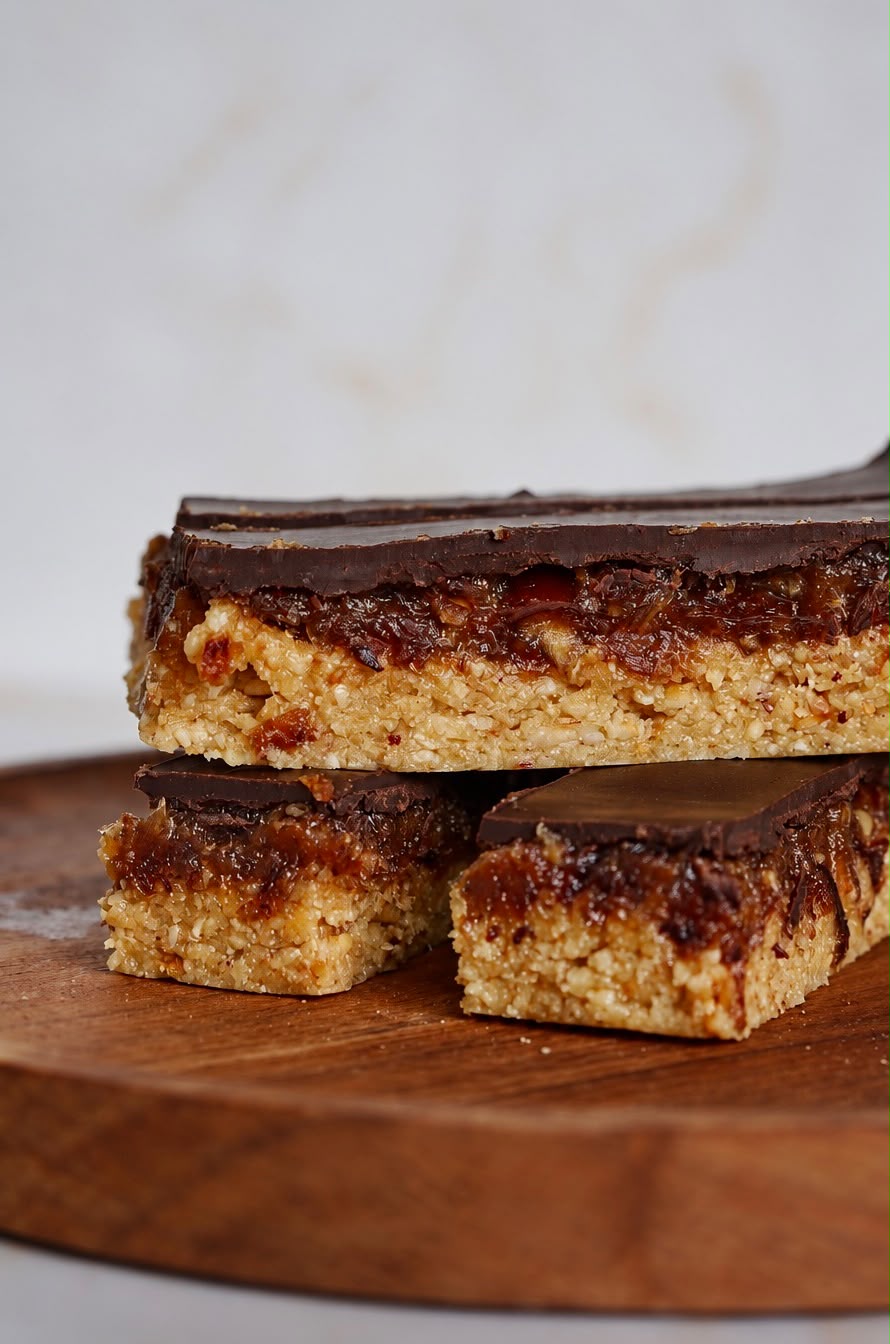
Ingredients for 12 hazelnut date bars
For the hazelnut base
For the date filling
For the topping
Keep the quantities separate: the base uses 4 tablespoons of honey and 40 g butter. The filling needs an additional teaspoon of honey and 10 g butter.
For this no-bake recipe: use oat flour that the manufacturer confirms is suitable for eating without cooking. Follow the package directions; refrigeration does not replace a required cooking step. [3]
How to make hazelnut date bars
1. Prepare the hazelnut base
Line a loaf tin or small dish with baking paper.
Melt the butter for the base together with the honey in a saucepan over a low heat. Remove from the heat and stir in the vanilla extract.
Meanwhile, finely grind the hazelnuts in a food processor, leaving a little texture.
Mix the ground hazelnuts with the oat flour, protein powder and a pinch of salt. Add the melted butter mixture and combine to form a dough that holds together.
Spread the dough evenly in the tin. Press down firmly with the back of a spoon. Refrigerate the base while you prepare the date filling.
2. Make the date filling
Soak the dates in hot water for 10 minutes. Drain and let them drain thoroughly.
Melt the butter for the filling, or let it soften at room temperature.
Place the dates, hazelnut paste or spread, butter, honey, vanilla extract and a pinch of salt in the food processor. Blend into a smooth, sticky mixture. Add a small splash of water only if the filling remains too firm.
Spread the filling evenly over the base. Smooth the surface with a damp spoon or spatula.
3. Add the chocolate layer and slice
Melt the dark chocolate in a heatproof bowl over a saucepan of gently heated water. Keep the bowl above the water and prevent water from getting into the chocolate. Spread the melted chocolate evenly over the date filling.
Refrigerate the tin for at least 1 hour, until all layers are firm enough.
Lift the slab out of the tin and cut into 12 bars or pieces with a sharp knife. If helpful, briefly warm the knife under hot running water and dry it thoroughly before cutting. This makes it easier to slice the chocolate topping neatly.
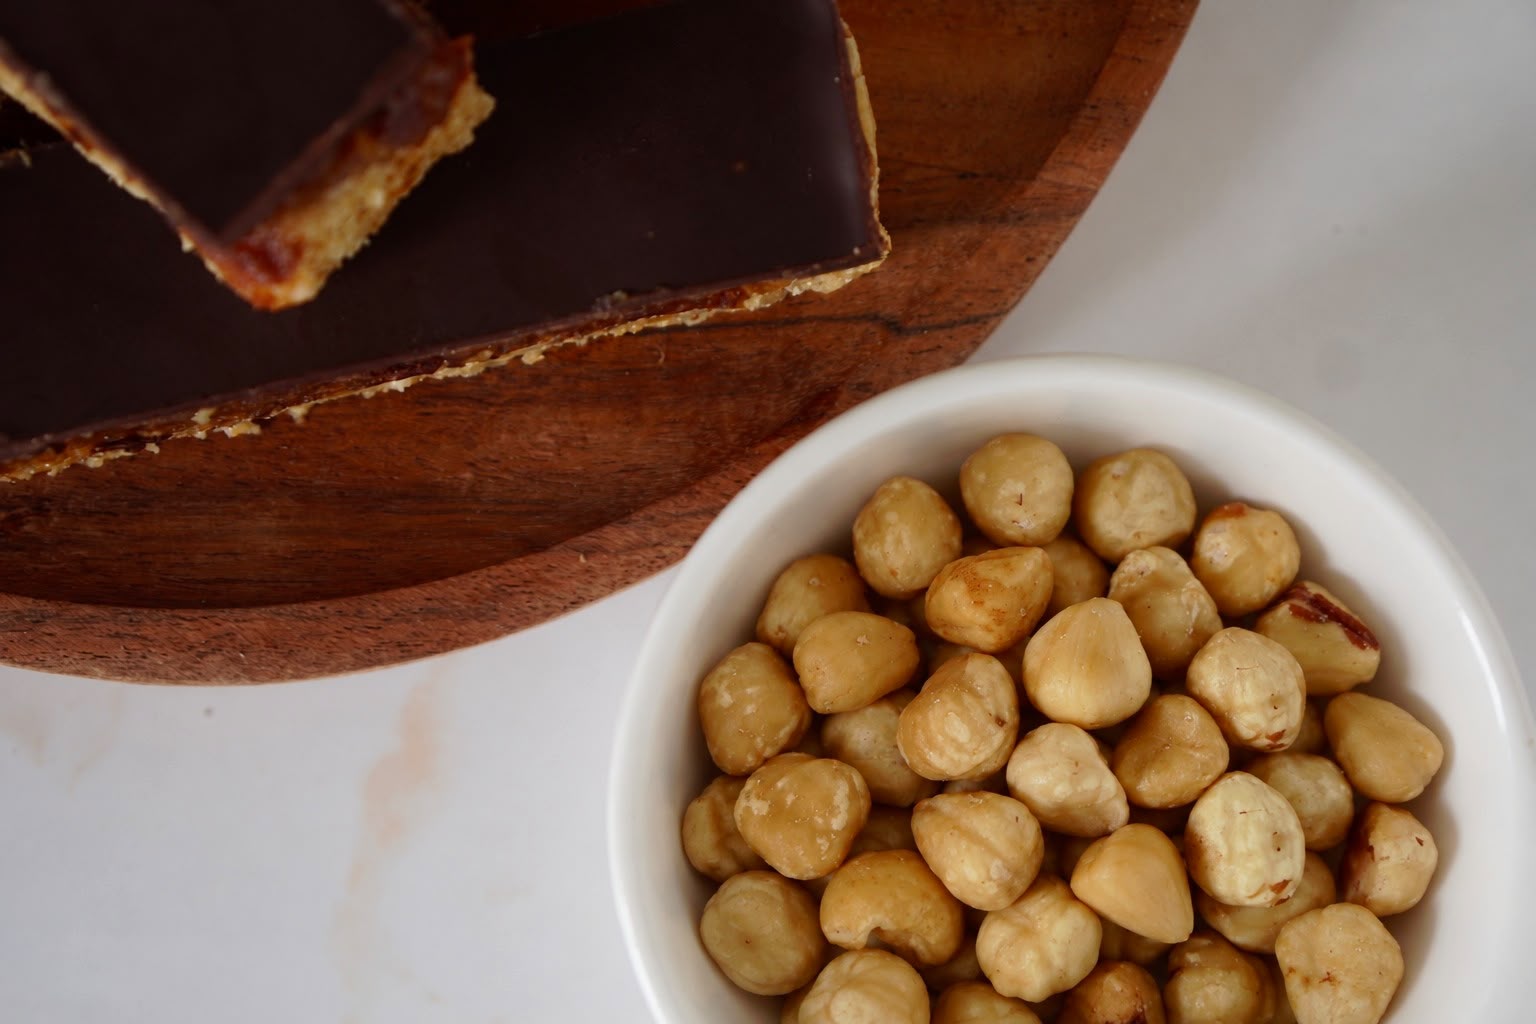
Tips for three neat layers
- Grind the hazelnuts, but leave some texture. Stop before they turn into a smooth nut butter.
- Press the base down firmly. An even, compact base is easier to portion.
- Drain the dates thoroughly. Add the optional splash of water only when necessary; too much moisture makes the filling softer.
- Smooth with a damp spoon. This helps spread the sticky date filling.
- Give the bars enough time to set. One hour is a minimum. Check the firmness before slicing.
- Warm and dry your knife. Use a sharp knife and wipe it between cuts.
Nutrition, sugar and allergens
These are sweet bars made with nuts, dates, honey, butter and chocolate. A homemade snack can fit into a varied diet, but it is not automatically low in calories.
The recipe is not sugar-free or free from added sugar: it contains honey, and your dark chocolate or hazelnut spread may contain added sugar too. [1]
The hazelnuts and protein powder contribute protein, but 30 g protein powder is not the same as 30 g protein. We do not give a calorie or protein figure per bar without a full calculation using the actual product labels.
Allergens: the recipe contains hazelnuts and butter made from milk. Protein powder and chocolate can contain milk, soya or other allergens. For a gluten-free version, use oat flour labelled gluten-free and check every other product and preparation surface.
Want to understand the ingredient better? Read our guide to nuts, portion sizes and choosing different types.
How to store and freeze the bars
Store the bars in a sealed container in the refrigerator at approximately 4°C. As a cautious general guideline for prepared food, eat them within two days. This is not a separately tested shelf life for this recipe. [2]
Freeze portions you want to keep for later promptly, with baking paper between the bars. Label the container with the date. Defrost a portion covered in the refrigerator.
Frequently asked questions
Do you need an oven for these bars?
No. You melt the butter and chocolate and let the assembled bars set in the refrigerator. Use oat flour suitable for eating without cooking.
Which dates should I use?
Use the soft, pitted dates specified in the recipe. Soak them in hot water for 10 minutes and drain well before blending.
What does hazelnut paste mean in this recipe?
Hazelnut products vary. Check the ingredient list of your paste or spread. A sweetened chocolate hazelnut spread changes the flavour and nutritional values compared with a nut-only paste. The amount in the filling remains 20 g.
Why is the filling too soft?
The dates may not have drained enough, or you may have added too much water. Use the optional splash sparingly and allow enough chilling time. Check the consistency before slicing.
Are these bars vegan?
These bars contain butter and honey, so they are not vegan.
How do you cut the chocolate without it breaking?
Use a sharp knife. Briefly warm it under hot running water, then dry it thoroughly. Cut with controlled pressure and wipe the blade between slices.
Make these date bars without protein powder
Replace the 30 g protein powder with 30 g extra oat flour. Use 80 g oat flour in total for the base. Keep the remaining ingredients and method the same.
Food that fits your daily life
You do not need a perfect menu to build a useful routine. At Aurora Personal Training in Eindhoven, we help you fit training, nutrition and recovery around your goals and schedule.
Book your free intake to discuss an approach you can maintain.
Sources
- [1] Voedingscentrum: sugar and honey — Dutch.
- [2] Voedingscentrum: safely storing prepared food — Dutch; used as a general storage guideline.
- [3] FDA: handling flour safely.